Simpler VueJS Programming - Using the VueJS Library VuetifyJS
120021. Introduction to This Lesson
In this lesson, you will learn how to incorporate pre-written libraries into your own programs, which not only reduces the amount of code you need to write but also improves code quality.
VuetifyJS is a library for VueJS, and this lesson will teach you how to use this third-party library for programming. By reading the Vuetify documentation, installing Vuetify, and trying out several commonly used components, you will find that writing pages with VuetifyJS is much simpler and visually appealing.
2. Basic Concepts of VuetifyJS
In programming, third-party libraries are often used. These libraries are provided by developers and contain reusable code and functional modules that handle common tasks such as user interface design, date and time, user information validation, and more. With the help of third-party libraries, developers can save time and effort, avoiding redundant work.
VuetifyJS is a third-party UI library built on top of VueJS, focusing on solving user interface design issues. UI stands for User Interface. It provides hundreds of well-designed components that are easy to learn and use, making it a popular UI code library.
VuetifyJS encapsulates various UI usages into components, such as buttons, tables, dialogs, etc. Each component includes template and script code, making it very convenient to integrate into your own code. This approach allows you to quickly develop beautiful and feature-rich user pages.
3. How to Efficiently Read Vuetify Documentation
When reading the documentation of a third-party library, first find out how to quickly install it, then start using it to see what it looks like.
Install Vuetify
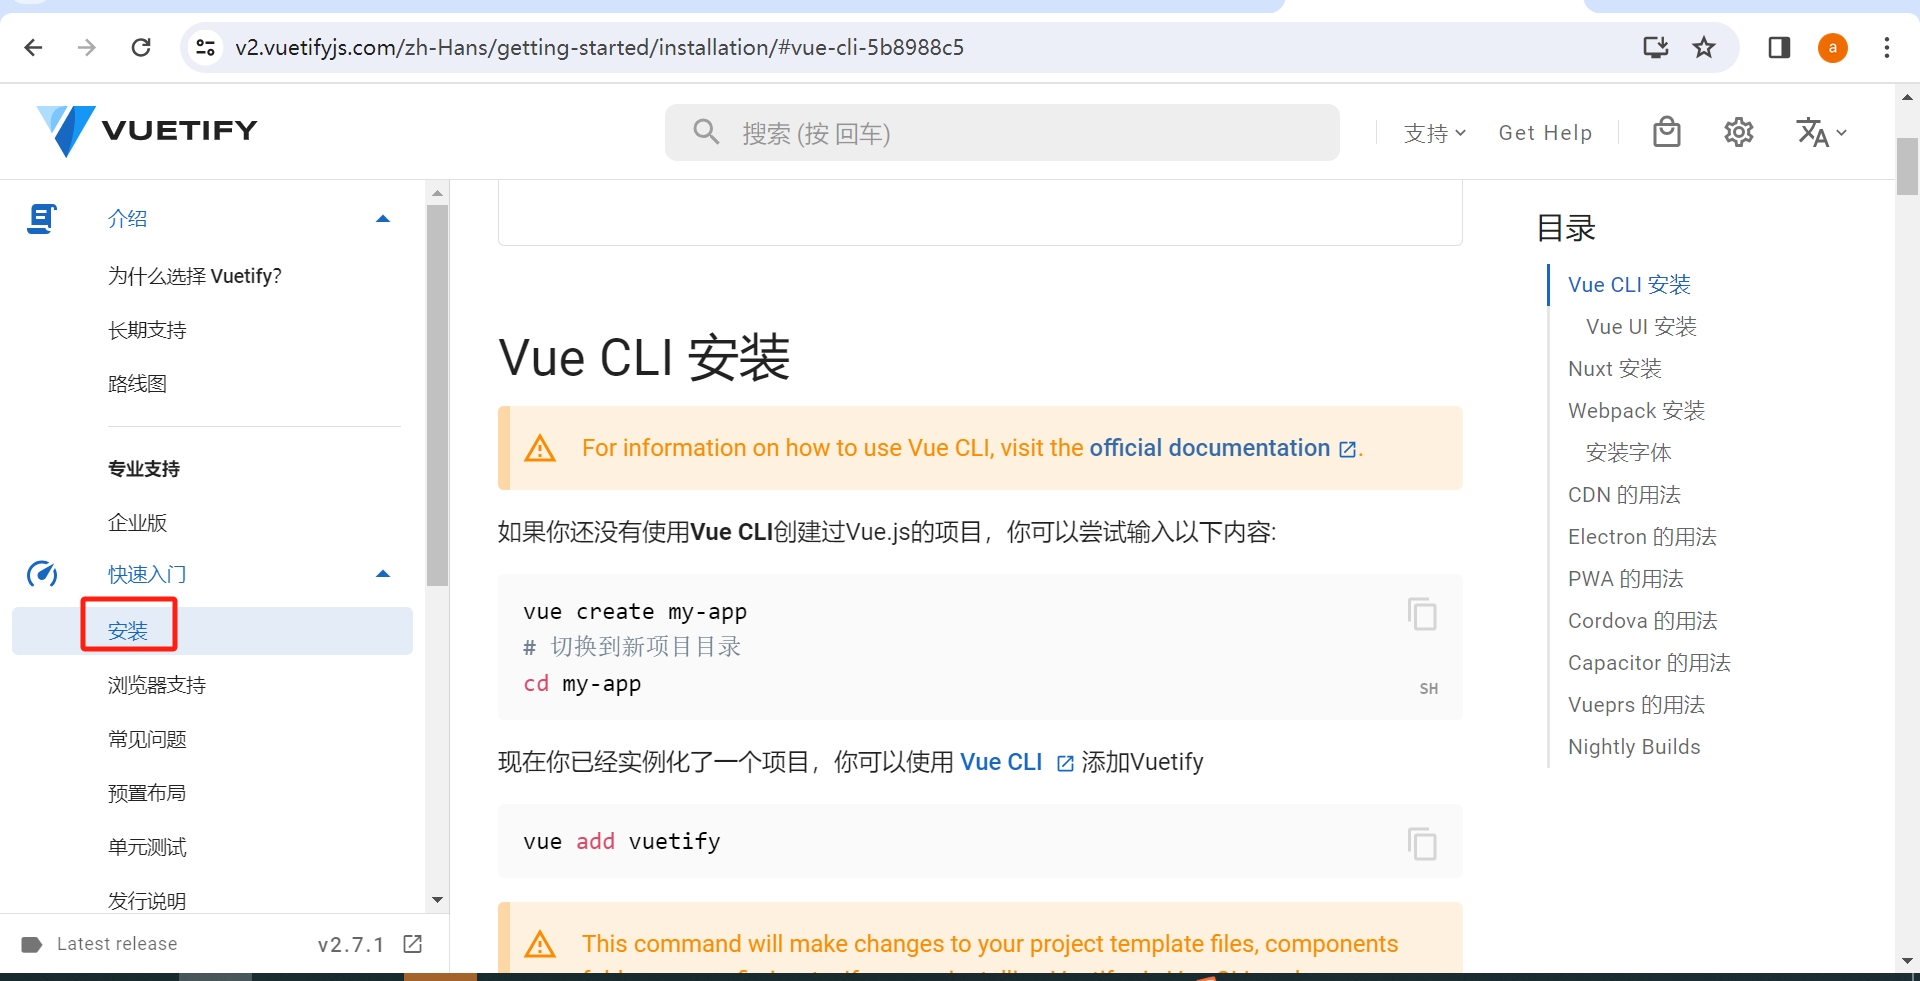
Open the official Vuetify documentation, and click on "Quick Start." You will enter the following page:
Scroll down to find "CDN Usage," copy the code into Vscode, and save it as vuetify.html file.
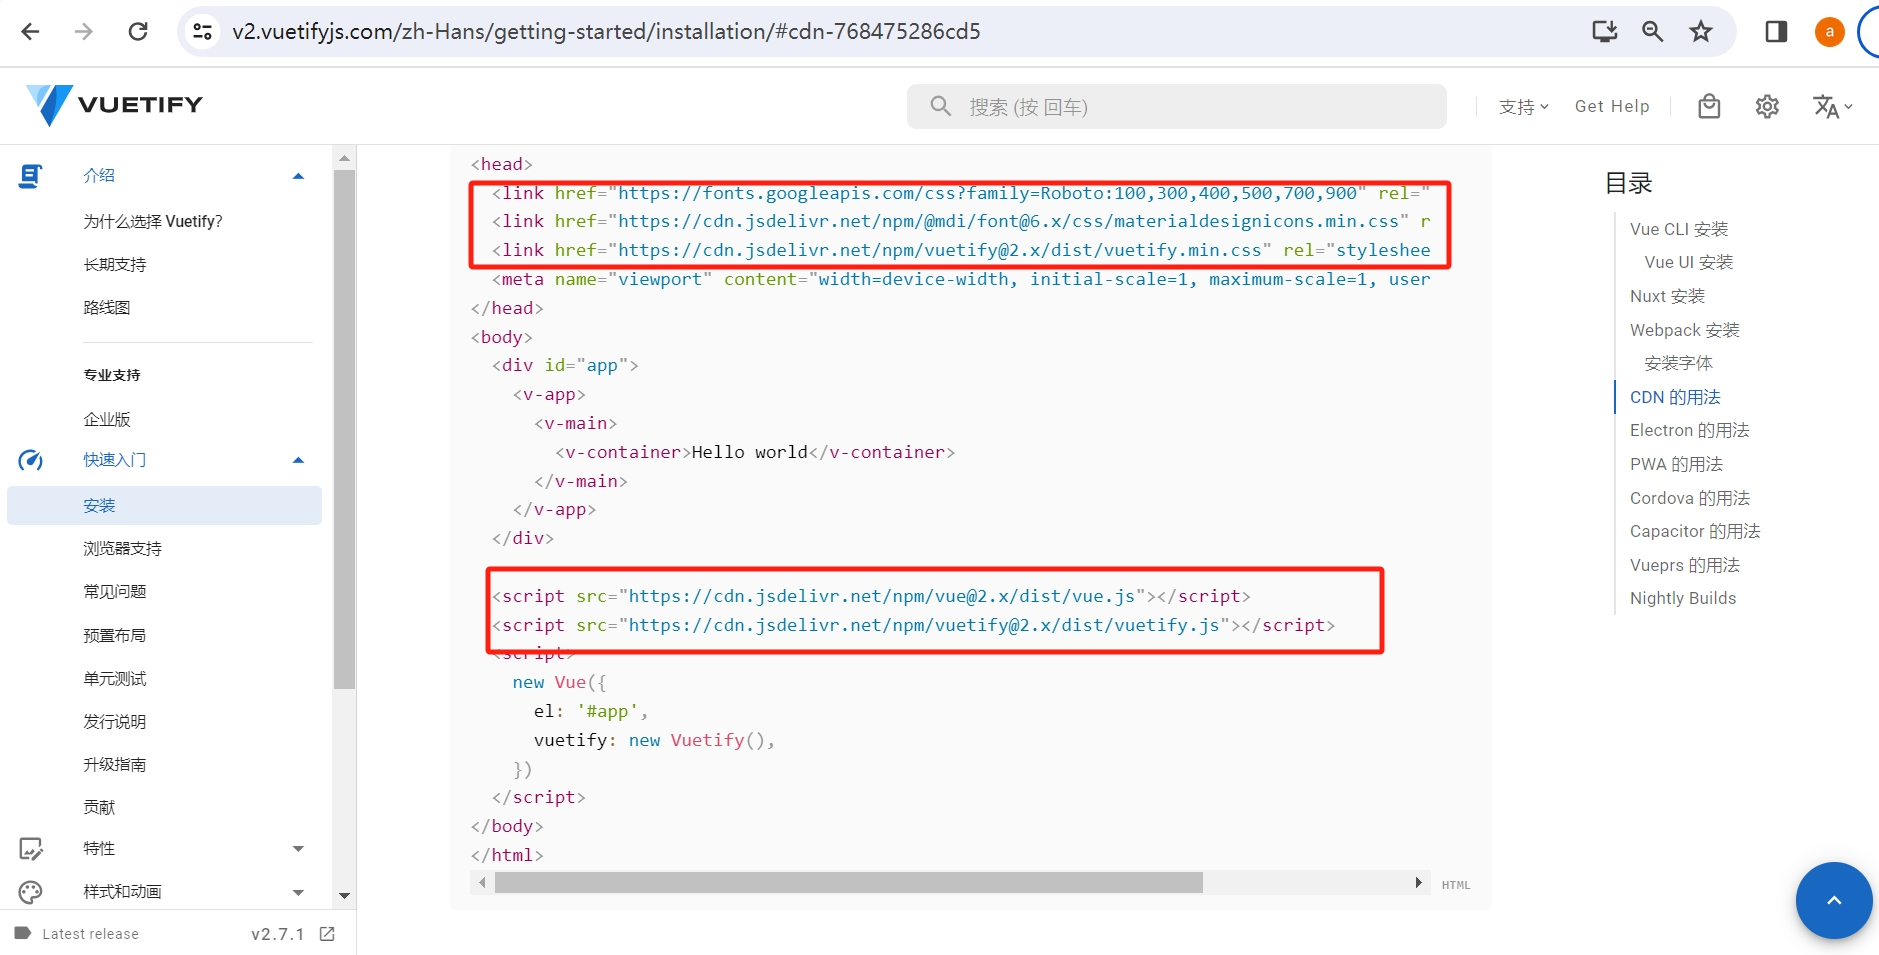
The part highlighted in red below the code means importing the libraries for VueJS and Vuetify, while the part highlighted above indicates other necessary third-party libraries, such as fonts and icon libraries. It is evident that using third-party libraries is a common programming method.
Open it in a browser, and if you see the following page, it indicates that it is running correctly.
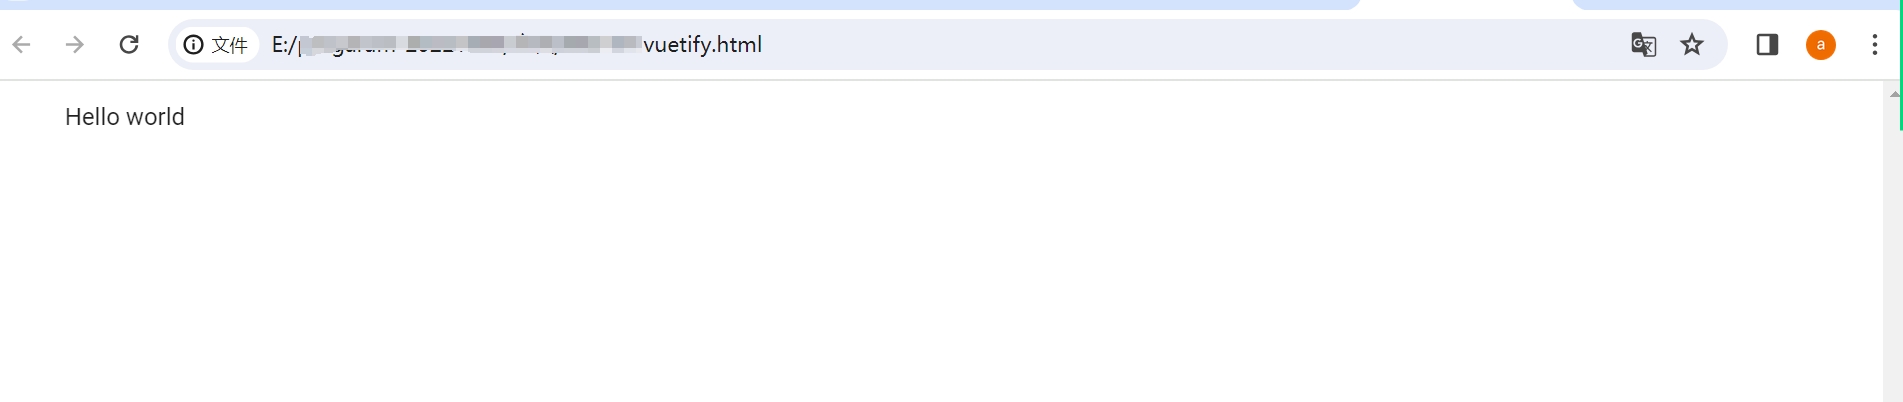
You have now run a basic Vuetify page. On this basic page, you can try many Vuetify UI components, and the following will teach you how to operate.
Reading VuetifyJS Documentation
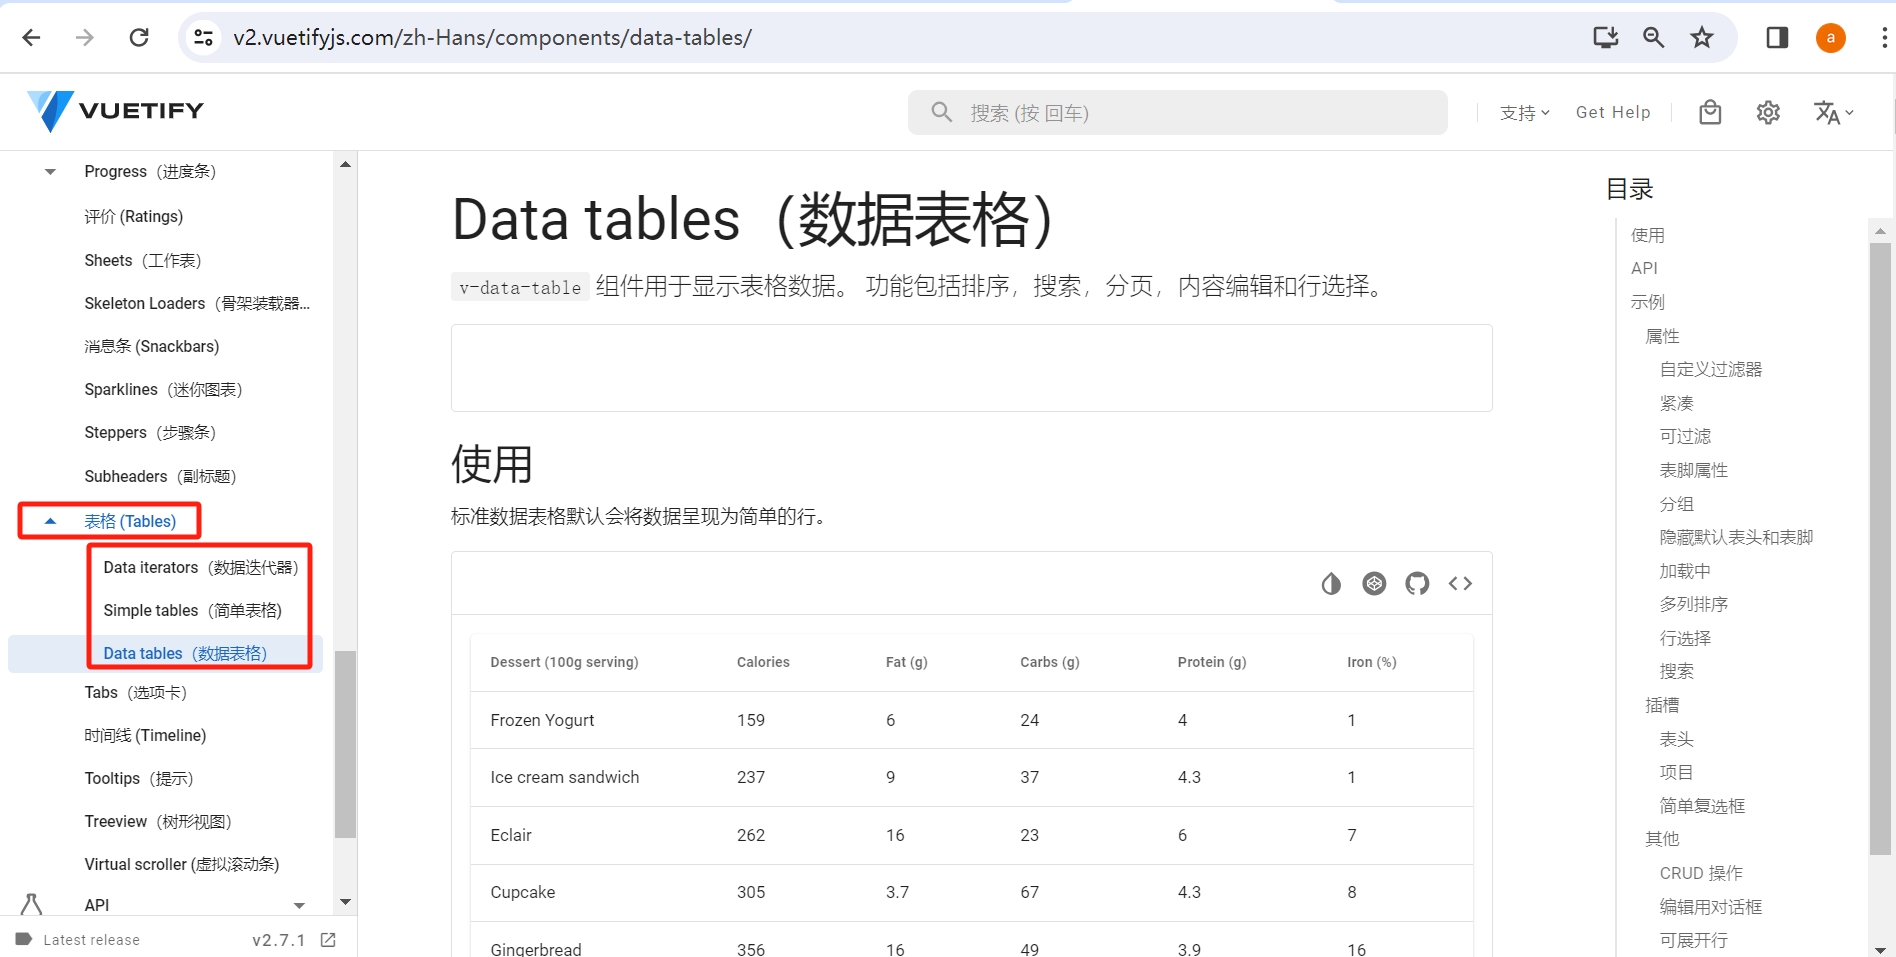
Browse the left sidebar to understand the overall functionality, focusing on "UI Components." Click to see the categories of components and what specific components are included in each category, with each component's appearance displayed, making it very convenient. For example, if you want to find components for tables, follow the method shown in the image below to find the UI components under the table category:
Click on each one to see, scroll up and down, and look for the appearance of the table you want to create. Each type of table has a set of UI component code.
4. Reading Documentation and Practicing with Common Components
The purpose of reading this documentation is to learn how to use these UI components for programming. Below, we will take the component v-radio as an example to illustrate how to write code using the components provided by VuetifyJS.
- Open UI Components and find the position shown in the image below:
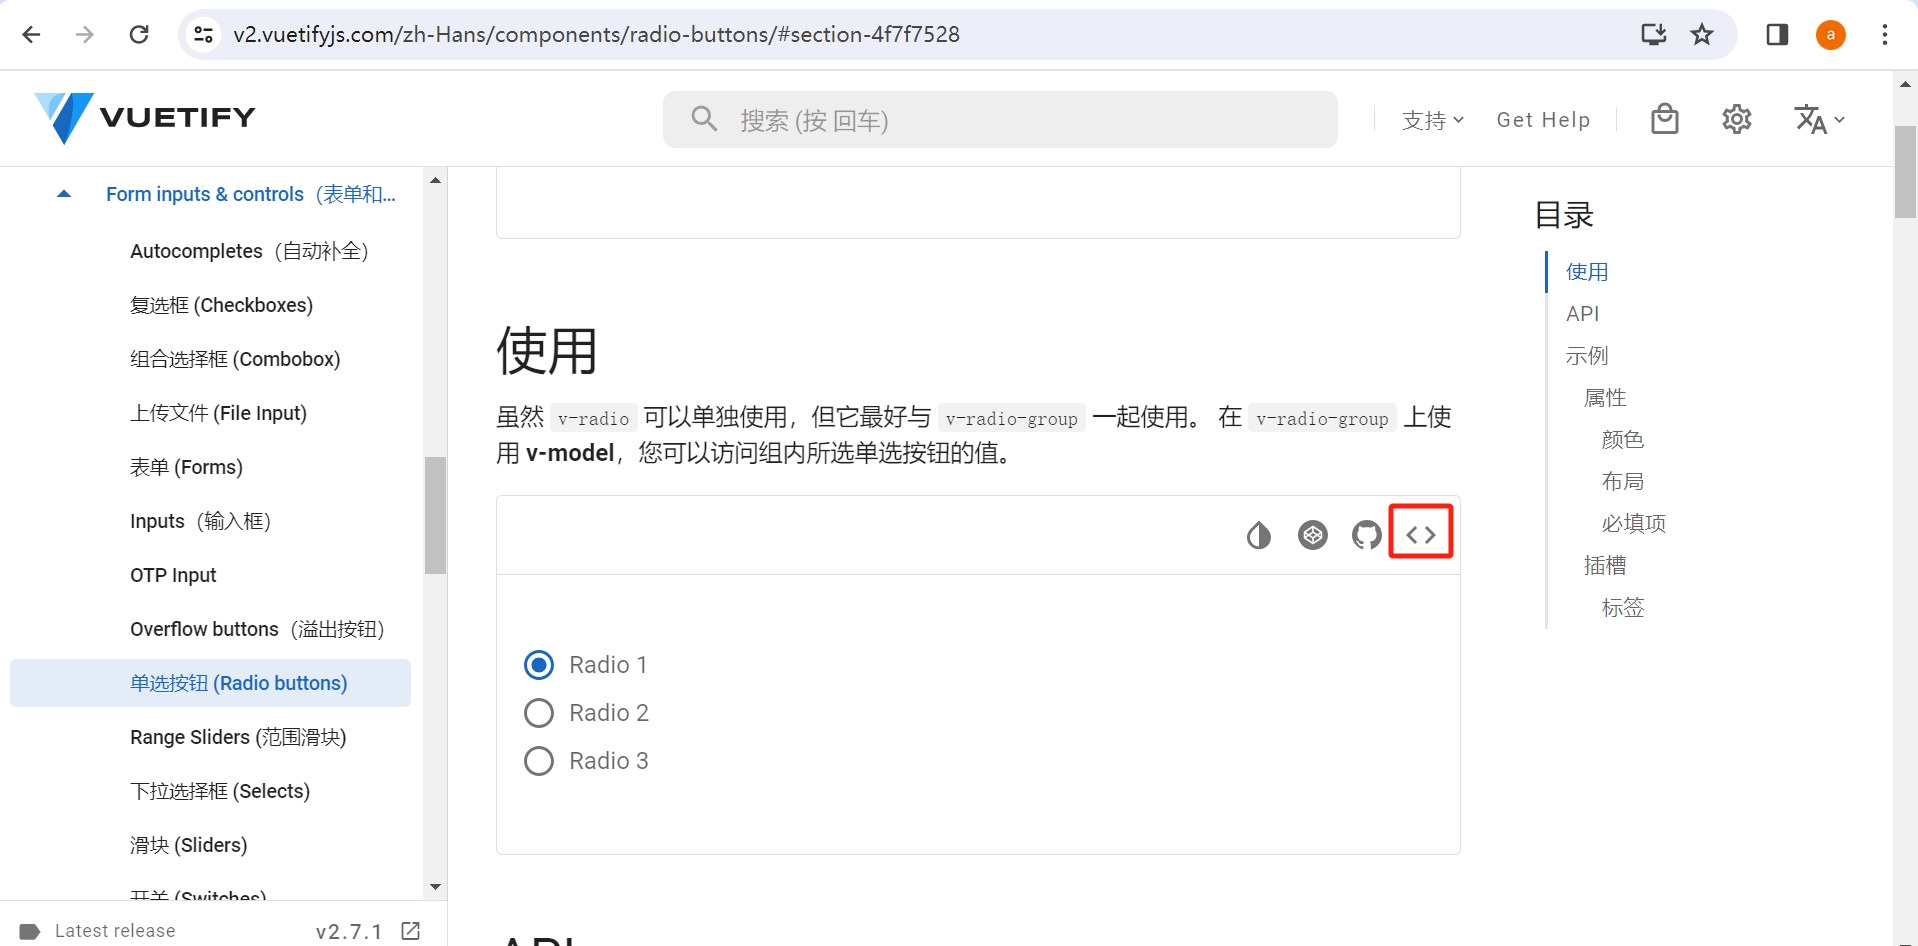
- Click the
<>icon in the upper right corner of the image.

- You will see the menu bar with
TEMPLATEandSCRIPT. This is the template and script of the component. Place the code from the template section into the template location of your file, and the script code into the script location of your file.- Copy the content within
<template></template>, and replace theHello Worldin thevuetify.htmlfile with it.
- Copy the content within
 <div id="app">
    <v-app>
      <v-main>
        <v-container>
          <template>
            <v-container class="px-0" fluid>
              <v-radio-group v-model="radioGroup">
                <v-radio v-for="n in 3" :key="n" :label="`Radio ${n}`" :value="n"></v-radio>
              </v-radio-group>
            </v-container>
          </template>
        </v-container>
      </v-main>
    </v-app>
  </div>
- Then click on
SCRIPTin the menu.
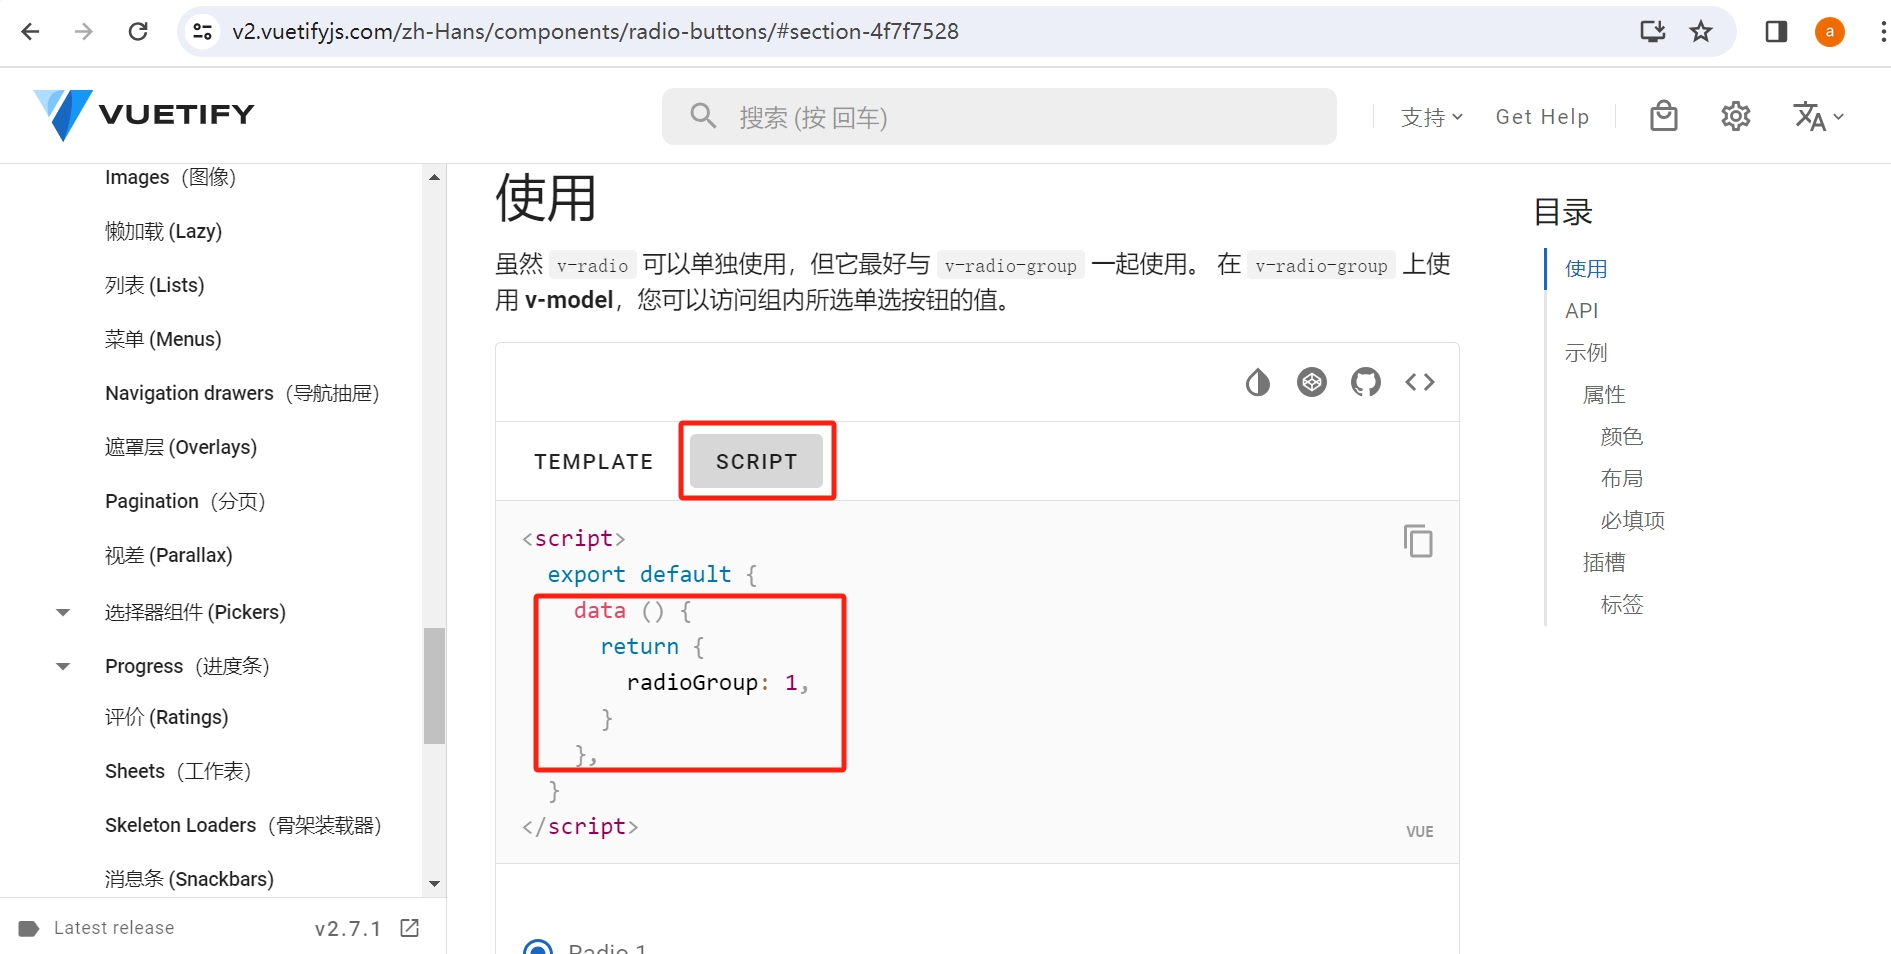
- The content within
<script></script>is the script part of the component. Note: Only copy the part highlighted in red, which is the content withinexport default{}, and place it below the linevuetify: new Vuetify(),in the Vue instance ofvuetify.html, then save the file.
<script>
  new Vue({
    el: '#app',
    vuetify: new Vuetify(),
    data () {
      return {
        radioGroup: 1,
      }
    },
  })
</script>
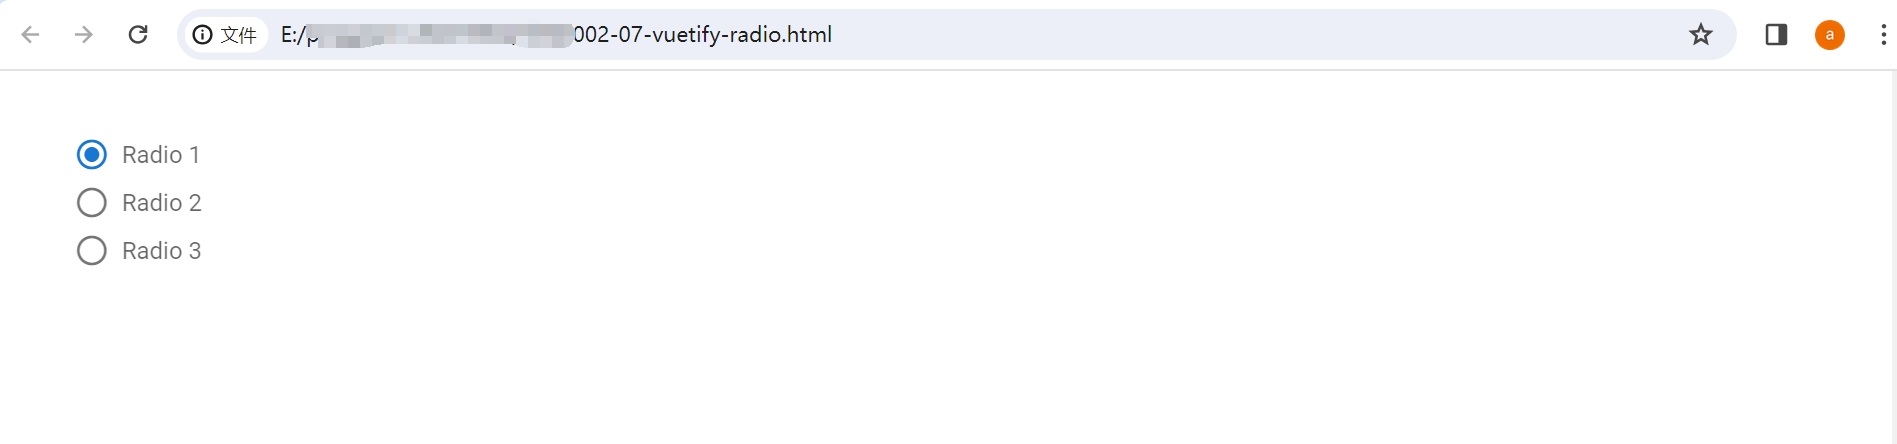
- Open this file in a browser, and you will see that the page has changed, showing three
radiobuttons.
Practice Other Common Components in the Same Way:
v-card
v-dialog
v-form
v-select
v-btn
After trying out these components, you may have discovered that writing code with VuetifyJS components is very convenient. With simple copy and paste, your page's appearance can become beautiful. This method not only avoids writing complex code but also allows for the rapid creation of high-quality web pages. This is the advantage of using third-party code libraries: it simplifies the coding process, improves code quality, and enables you to quickly build satisfactory web pages.
5. Project: Create a Data Table
Tables are widely used in web pages. In Lesson 02, while reading the beginner tutorial on HTML Tables, you may have noticed that tables created with HTML tags look simple and rough. However, if you use the Vuetify Table Component to write code, the resulting data table will look as beautiful as shown in the documentation.
Following the method of practicing components above, choose any table appearance and try to write an HTML file for a data table to create a table that looks like this.